Nothing immediately undercuts the professionalism of a video like shaky, unstable footage. Whether you’re shooting a corporate interview, a fast-paced event, or a simple social media clip, a shaky camera is distracting and can actually make your audience feel seasick. In the world of video production, smooth motion isn’t a luxury—it’s a requirement.
The good news is that achieving smooth, stable shots doesn’t require a Hollywood budget. By using a combination of smart gear choices and simple shooting techniques, you can drastically improve the quality of your videos. Here are five essential tips focused on stabilization:

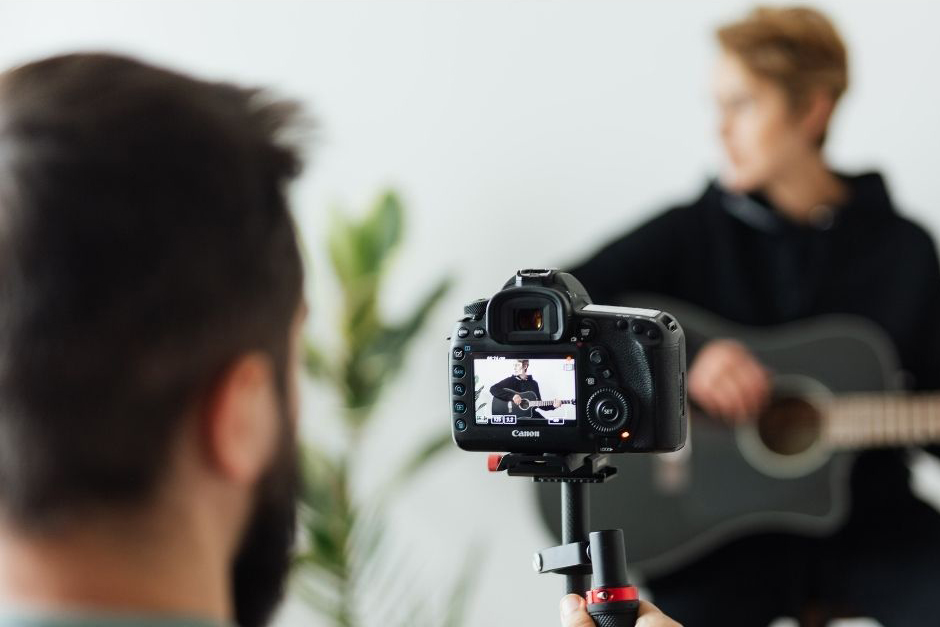
1. The Tripod: The Unshakeable Foundation
The tripod is the oldest and most reliable stabilization tool. For interviews, product demos, or any shot where your camera needs to remain absolutely still in one location, a tripod is non-negotiable.
- Tip: Don’t just pick the cheapest option. Invest in a tripod with a fluid head . A fluid head has internal dampening mechanisms that allow for smooth, controlled pan (horizontal) and tilt (vertical) movements. This is crucial for capturing professional-looking movement without jerky starts or stops.
2.The Gimbal: Dynamic Motion, Perfect Stability
If you need to move—walking through a building, following a person, or circling an object—the gimbal is your best friend. A gimbal uses motorized axes (usually three) to keep your camera perfectly level and isolated from your body’s natural shake and wobble.
- Tip: Practice the “Ninja Walk” while using a gimbal. This technique involves bending your knees and moving with a deliberate, smooth heel-to-toe roll to minimize up-and-down bobbing. Gimbals eliminate shake, but the Ninja Walk eliminates bounce!

3. The Monopod: Speed and Flexibility
A monopod is a single-legged support that offers a great balance between stability and speed. It won’t give you the rock-solid stillness of a tripod, but it significantly reduces vertical shake and fatigue, and it’s much faster to set up and reposition.
- Tip: Use a monopod for event coverage or documentary work where you need to change locations frequently. To maximize stability, keep the monopod leg extended, hold the camera with both hands, and press the bottom of the monopod firmly into the ground.
4. Leverage Natural Stabilization (No Gear Needed!)
Before you buy anything, train yourself to use your body and environment as natural stabilizers.
- Tip: Always use a two-hand grip on your camera or smartphone. If possible, brace your arms and elbows against your body. For maximum stillness, find a wall, pillar, or sturdy piece of furniture and lean into it, creating a three-point bracing system with your body and the surface. This is the oldest trick in the book for a quick, stable static shot.

5. Camera Settings: The Electronic Edge
Your camera itself has powerful tools to help combat shake, often categorized as Image Stabilization (IS) or Vibration Reduction (VR).
- Tip: Understand the difference between Optical Image Stabilization (OIS) (built into the lens or camera body) and Digital/Electronic Image Stabilization (EIS) (software smoothing). Use both if available, but be aware that overly aggressive EIS can sometimes introduce a subtle “wobbly” or “jello” effect. In fast-moving situations, prioritize a slightly faster shutter speed to minimize motion blur.
Final Thoughts
High-quality video doesn’t mean high-dollar gear. With some creativity, basic tools, and smart planning, anyone can tell a powerful story through video — even on a shoestring budget.
Want more video tips or ready to level up your next project? Reach out to the team at Dolphin Video Productions today.
Let’s create something great — together.